Build an Interactive Digital Piano: A Hands-On Tutorial from AI Valley Zirakpur
Welcome to another exciting, hands-on coding project from AI Valley! Situated in the heart of Zirakpur, AI Valley is the premier destination for modern tech education. Whether you are a parent searching for the best coding classes for kids in Zirakpur, or an adult looking to pivot into a lucrative software engineering career, you are in exactly the right place. We proudly serve passionate learners across Zirakpur, Chandigarh, Mohali, Panchkula, and the entire Tricity region, equipping them with the skills needed for tomorrow's digital economy.
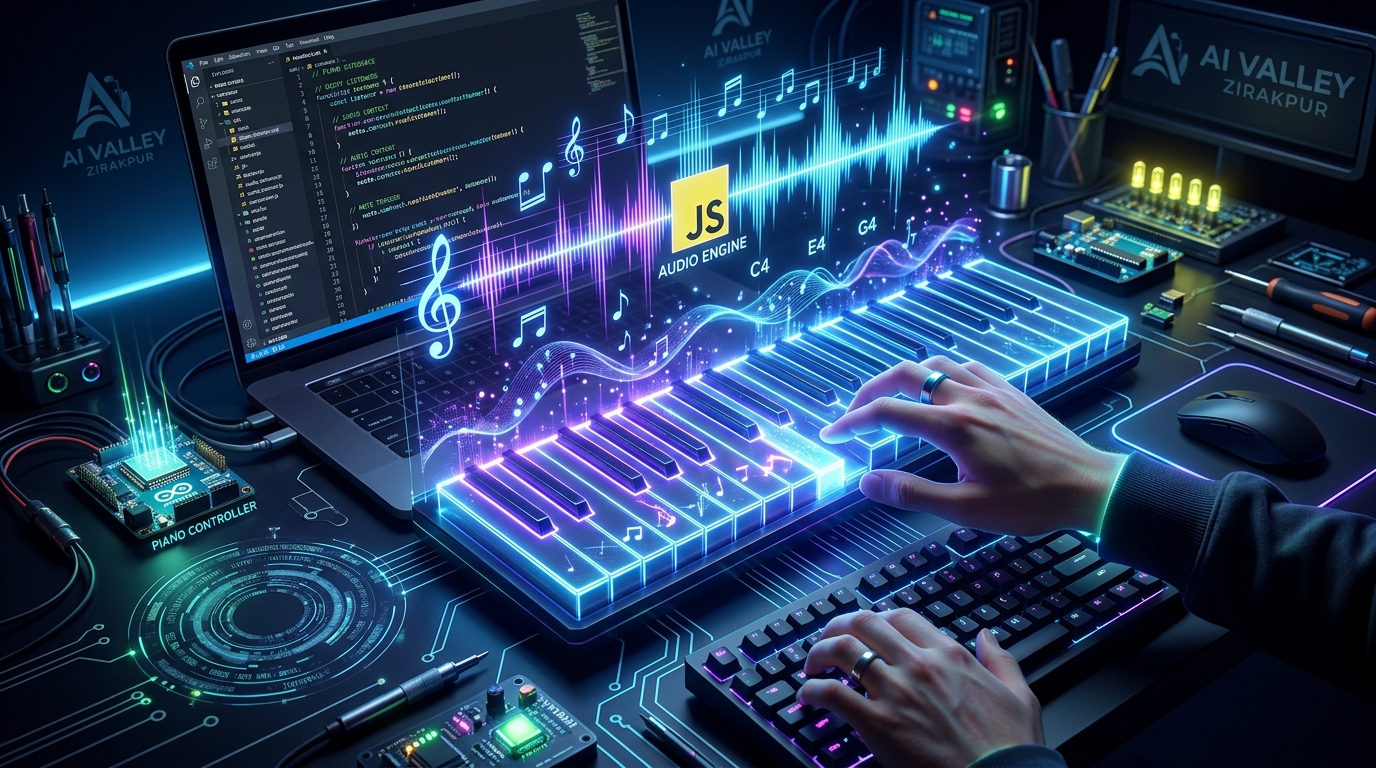
Today, we are going to build a fully functional, interactive Digital Piano using pure HTML, CSS, and JavaScript. The best part? We will not need to download massive external sound files or rely on third-party libraries. Instead, we will synthesize the music completely from scratch using your web browser's built-in Web Audio API!
---
🎯 What You Will Build
By the end of this comprehensive tutorial, you will have created a beautiful, interactive web-based piano keyboard. Users will be able to play accurate musical notes by clicking the digital keys with their mouse or by typing intuitively on their computer keyboard.
This is a core foundational project that our students tackle in our premium web development course Zirakpur. It perfectly demonstrates how user interfaces (HTML/CSS) and browser application programming interfaces (APIs) interact dynamically through JavaScript to create highly engaging web applications.
📋 Prerequisites & Materials
To build this digital piano, you do not need any complex, expensive software. Here is everything you need to get started:
A Text Editor: Visual Studio Code (VS Code) is highly recommended, but Sublime Text or even Notepad++ will work perfectly. A Modern Web Browser: Google Chrome, Mozilla Firefox, or Microsoft Edge (to test and run your application). Basic Knowledge: A foundational understanding of HTML, CSS, and JavaScript helps, but do not worry if you are a beginner—we will explain every single line of code in detail! Location Check: If you do not have a robust computer setup at home, you can always visit AI Valley's state-of-the-art lab in Zirakpur. All necessary materials, high-end PCs, and premium software are provided for our enrolled students.
---
Step 1: Crafting the HTML Structure (Setting the Foundation)
Every great web application starts with a solid, semantic foundation. In web development, HTML (HyperText Markup Language) provides that crucial skeletal structure. We need to create a main container for our piano and individual div elements for each piano key (both black and white).
To make our JavaScript code cleaner later on, we will use special HTML5 data- attributes. These attributes allow us to invisibly store the specific musical frequency and the corresponding computer keyboard key for every single note.
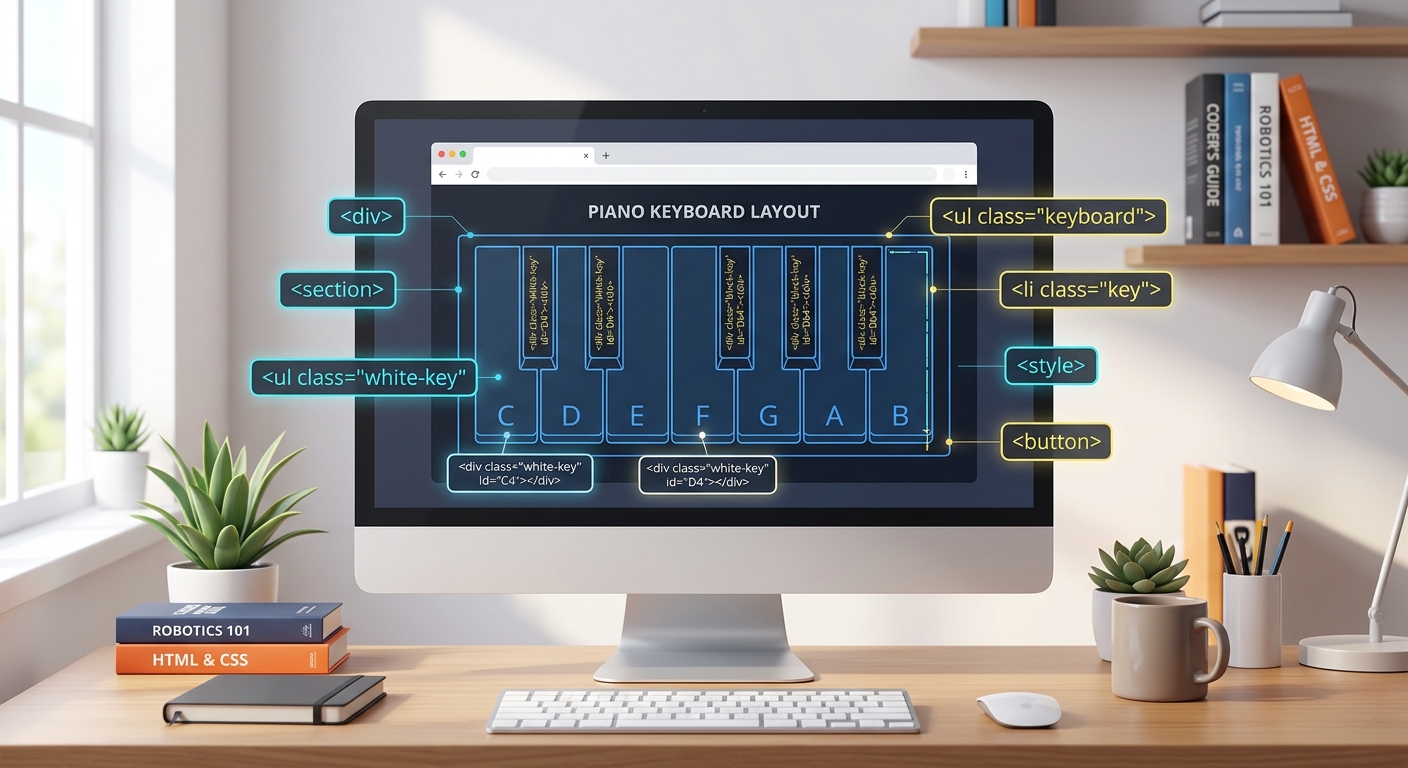
A clean, modern computer screen showing a wireframe of a piano keyboard layout with HTML tags hovering around it, digital art style.
Create a new folder on your computer, open it in your text editor, create a file named index.html, and add the following code:
Understanding the HTML Architecture
We created a standard HTML5 boilerplate. Inside thebody, we built a .piano container. Inside that container, we added 12 specific keys representing one full chromatic octave on a traditional piano (from Middle C to B).The real magic here lies in the custom attributes:
class="key white" or class="key black" will dictate the visual styling in our next step.
data-freq holds the exact, scientifically accurate frequency of that musical note. For instance, Middle C vibrates at 261.63 Hertz (Hz).
data-key systematically maps the digital piano key to a specific letter on your computer keyboard.
Expected Output: If you double-click index.html to open it in your browser right now, it will look like a very boring, unformatted vertical list of letters. Do not worry—CSS is about to bring this interface to life!
---
Step 2: Styling the Piano with CSS (Making it Beautiful)
Now, let us transform our simple list of letters into a premium digital instrument! This step covers essential UI/UX design concepts—exactly the kind of practical design work our students in Chandigarh, Mohali, and Panchkula master during our intensive weekend coding bootcamps.
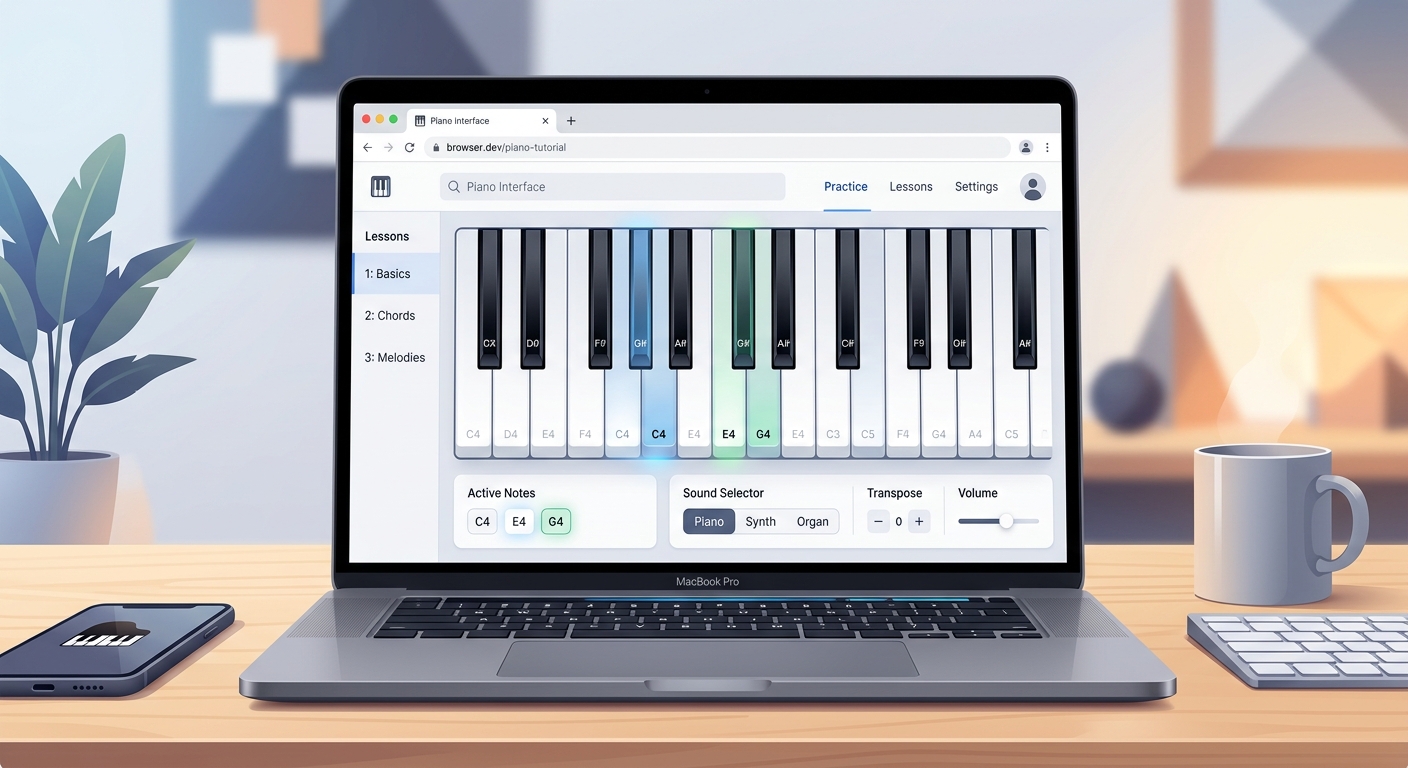
A beautiful, modern digital piano interface on a web browser showing black and white keys, UI/UX design illustration.
Create a file named style.css in the exact same folder as your HTML file, and add this code:
Breaking Down the CSS Logic
We utilized CSS Flexbox (display: flex) on the .piano container to perfectly align the keys horizontally.The most clever part of this styling is how we positioned the black keys. By giving the .black keys a margin-left: -20px and margin-right: -20px, we force them to physically overlap the white keys. We also assigned them a higher z-index: 2 so they sit comfortably on top.
Furthermore, we added .active classes. When applied via JavaScript later, these classes will slightly compress the keys (transform: scaleY(0.98)) and add inner shadows to simulate a realistic mechanical button press. We also included user-select: none; to ensure that rapidly clicking the keys doesn't accidentally highlight the text inside them.
Expected Output: Refresh your browser. You should now see a stunning, highly realistic piano keyboard resting in the center of a sleek, dark modern background. It looks incredible, but it does not make any sound quite yet!
---
Step 3: Initializing the Web Audio API (The Sound Engine)
Instead of downloading heavy MP3 files for every single note (which would make our app slow to load), we are going to synthesize audio dynamically using mathematics and code. By introducing concepts like sound wave frequencies and synthesis, we are actively bridging the gap between coding and physics—a core pillar of the STEM education Tricity wide at AI Valley.
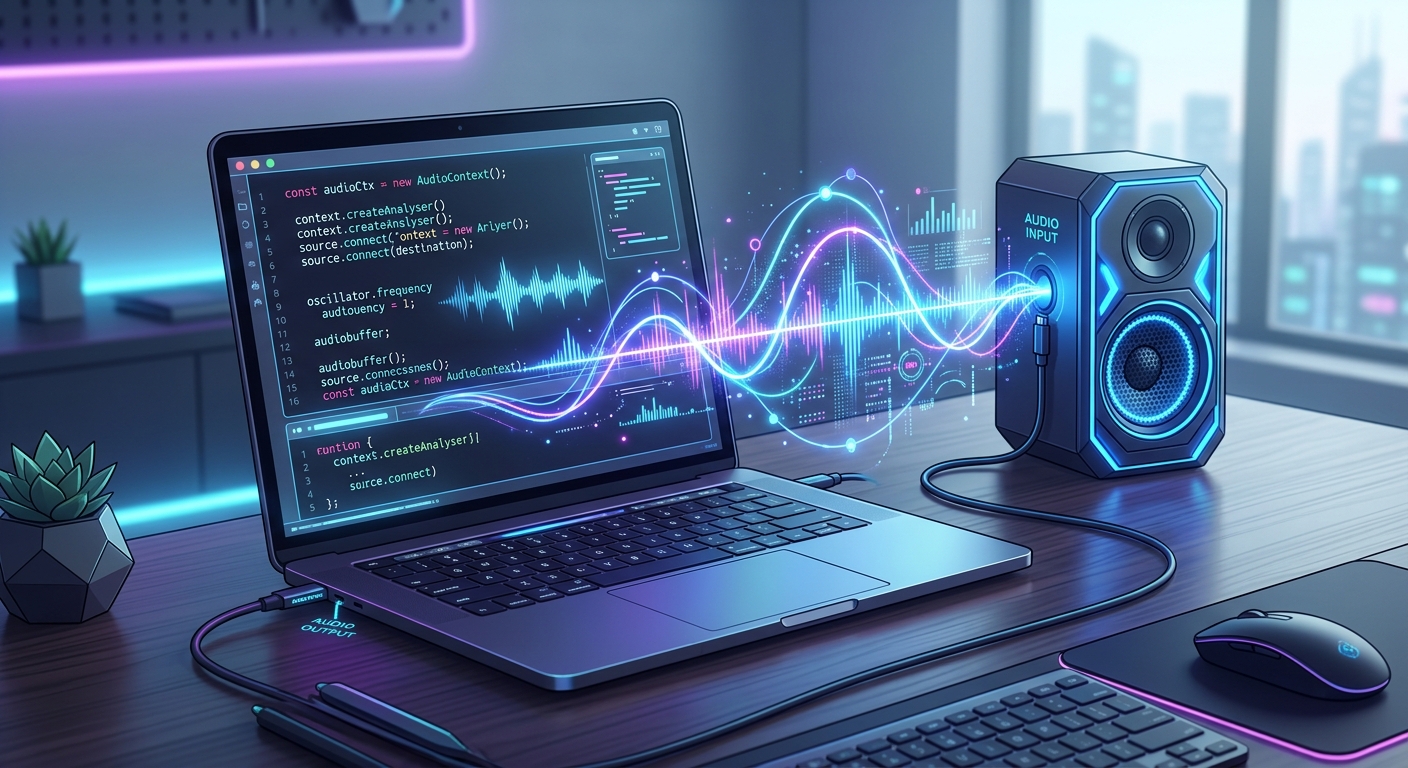
A glowing digital soundwave connecting a laptop to a speaker, representing the Web Audio API, cyberpunk coding style.
Create a file named script.js and add the following code to establish our audio engine:
The Science Behind the Sound
We created anAudioContext, which functions as a master digital soundboard inside your browser. The playNote function takes a specific frequency (like 261.63).It creates an OscillatorNode to mathematically generate a "triangle" sound wave. It then passes that wave through a GainNode (a digital volume controller) that rapidly fades the sound out over 1.5 seconds. Notice we use exponentialRampToValueAtTime(0.00001). If we ramped the volume exactly to 0, the Web Audio API would create a harsh "popping" sound artifact. Ramping to a near-zero decimal ensures a smooth, authentic fade-out, mimicking a real piano string.
---
Step 4: Making the Keys Play Sound (Mouse Click Interactions)
Now, let us connect our static HTML keys to our new JavaScript synthesizer so that interacting with them produces music.
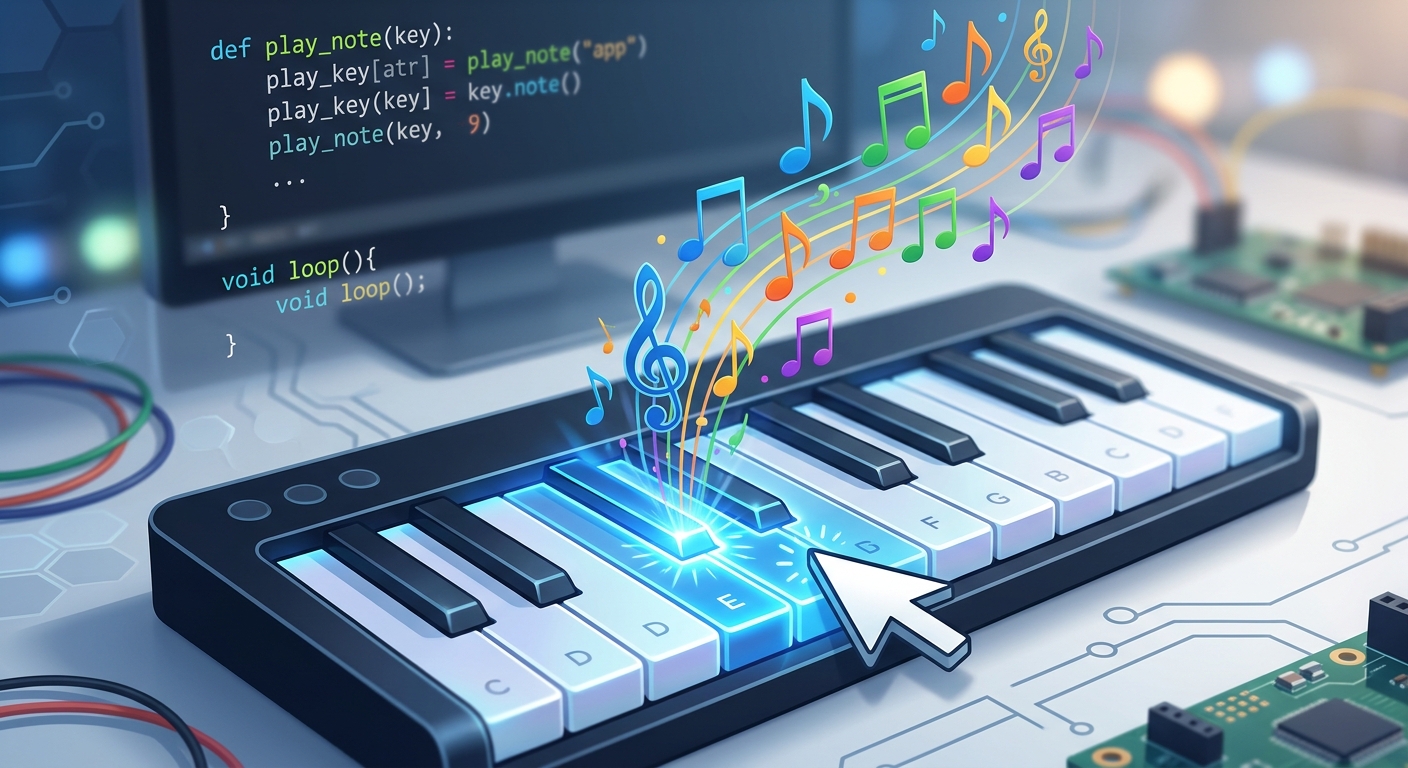
A computer mouse cursor hovering over a glowing digital piano key, clicking it to emit colorful musical notes.
Add this code to the bottom of your script.js file:
Why Use parseFloat?
We loop over every single key element and attach amousedown event listener. When a user clicks a key, JavaScript looks at the HTML data-freq attribute. Because HTML attributes are stored as text (strings), we must convert it to a usable number. We use parseFloat() instead of parseInt() because our frequencies contain precise decimals (like .63). Finally, it triggers the .active CSS class to visually push the key down.Expected Output: Refresh the page! You can now click the piano keys with your mouse, and you will hear clear, mathematically synthesized musical notes playing perfectly in tune!
---
Step 5: Adding Computer Keyboard Support (Typing to Play)
Clicking keys one by one with a mouse is fun, but to play a real song, we need to use both hands. Let us seamlessly map our computer keyboard keys to our digital piano keys.
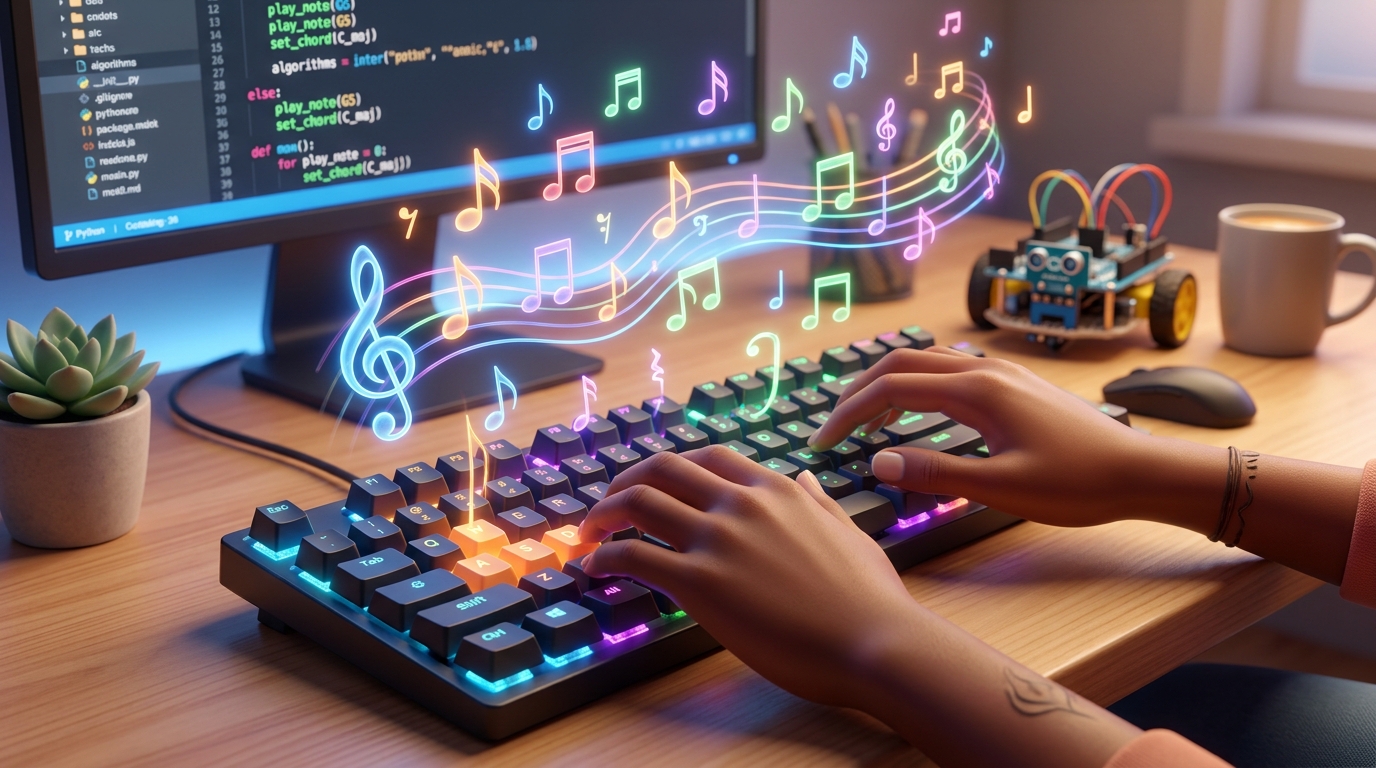
A pair of hands typing on a glowing mechanical computer keyboard that is magically playing musical notes, 3D render.
Add this final block of code to the bottom of your script.js file:
Perfecting the Keyboard Experience
We added a global event listener to the entiredocument listening for keydown events. When you press a key (like 'A' or 'a'), JavaScript uses toLowerCase() to handle capitalization, then uses querySelector to find the exact HTML element containing data-key="a".The event.repeat check is absolutely crucial. Without this single line of code, holding down a key on your computer keyboard would trigger hundreds of rapid-fire notes per second, overloading the browser and creating an awful noise.
Expected Output: Refresh your browser one last time. Press the letters A, S, D, F, G, H, J on your keyboard. You are now playing a fully functional digital piano using your typing keyboard!
---
🎉 Final Result & Next Steps
Congratulations! You have successfully engineered a complete Digital Piano web application from scratch. Through this project, you mastered structuring semantic HTML, utilized CSS Flexbox for complex spatial layouts, and interacted deeply with the powerful Web Audio API using JavaScript event listeners.
By writing code that dynamically generates real-world sound waves, you bridged the gap between theoretical software engineering and applied physics! This is the essence of true problem-solving and creative programming.
🚀 Challenge: Take It Further
Programming mastery is all about constant iteration. Here are three challenges to level up your app:
gainNode.gain.value in your script to let users dynamically control the master volume.oscillator.type from 'triangle' to 'sine' (sounds like a smooth flute), 'square' (classic retro 8-bit game sound), or 'sawtooth' (a bold synthesizer brass tone).---
🏫 Start Your Tech Journey at AI Valley
Did you enjoy this hands-on tutorial? Are you ready to take your coding skills to the absolute next level? AI Valley is your ultimate destination and the highest-rated coding institute near me Zirakpur.
As the leading institution promoting tech literacy, we specialize in comprehensive kids programming Zirakpur, as well as rigorous adult professional bootcamps. We offer an industry-leading web development course Zirakpur where you can master modern tools like HTML, CSS, JavaScript, React, and Node.js. Once you master the frontend, you can easily transition to learn Python in Zirakpur through our backend engineering and data science curriculums.
Furthermore, we are proud to offer exclusive AI classes for kids Chandigarh, Mohali, Panchkula, and provide the most comprehensive robotics training—truly making us the best robotics institute Chandigarh Tricity has to offer.
Whether your child is 7 or 17, or you are an ambitious adult looking to switch into a high-paying tech career, we have the perfect, customized learning path waiting for you.
Enroll at AI Valley today to transform your curiosity into cutting-edge skills. Visit aivalley.co.in to book your free trial class and start your journey into the incredible world of web development, robotics, and artificial intelligence!