
Build a Smart Obstacle-Avoiding Robot: A Hands-On Tutorial from AI Valley Zirakpur
Hello, future innovators! Welcome to another exciting, hands-on tutorial from AI Valley. If you've been searching for the best coding classes for kids in Zirakpur, or if you simply want to dive into the exciting world of hardware and software integration, you are in the exact right place. At AI Valley, our students build interactive projects like this every week, turning theoretical textbook concepts into real-world, functioning machines. Today, we are going to bridge the gap between computer code and the physical environment by building your very own autonomous robot!
🎯 What You Will Build
In this comprehensive tutorial, you will build a smart, 2-wheel drive Obstacle-Avoiding Robot from scratch. Using an ultrasonic sensor, this robot acts exactly like a bat or a dolphin—emitting high-frequency sound waves to "see" walls and objects in its path through echolocation.When the robot gets too close to an obstacle, its electronic brain (the Arduino) will instantly command the wheels to stop, reverse to create space, turn to find a clear path, and seamlessly continue driving autonomously. This is exactly the kind of foundational robotics project our students across the Tricity area build to master the fundamentals of hardware programming, logic sequencing, and embedded systems.
📋 Prerequisites & Materials
To build this robot, you will need some standard robotics components. If you are searching for a premium coding institute near me with a fully equipped, state-of-the-art hardware lab, remember that you can always visit AI Valley's campus, where all premium materials and tools are provided for our enrolled students!Here is the exact bill of materials you will need for this build: Arduino Uno Board: The "brain" of our robot that stores and executes our C++ code. L298N Motor Driver Module: The "muscle." An Arduino cannot power motors directly; this H-bridge module takes control signals from the Arduino and safely channels heavy battery power to the wheels. HC-SR04 Ultrasonic Sensor: The "eyes." This sensor uses sound wave reflection to measure physical distances. 2x DC Gear Motors with Wheels: Standard 3V-6V yellow BO motors provide great torque for moving the robot base. Robot Chassis: An acrylic or 3D-printed base. It should include a caster wheel for the rear or front to balance the two drive wheels. Jumper Wires: A mix of Male-to-Male and Male-to-Female wires for prototyping. Power Supply: A 2x 18650 Lithium-Ion Battery pack (highly recommended for high current draw) or a standard 9V battery with a barrel jack adapter. Arduino IDE Software: Installed on your computer (Version 1.8.x or the newer 2.x).
Let's get building!
Step 1: Wiring and Programming the "Eyes" (Ultrasonic Sensor)
The HC-SR04 ultrasonic sensor uses acoustic pulses to measure distance. It features aTrig (Trigger) pin that sends out a high-frequency acoustic ping, and an Echo pin that listens for that sound bouncing back off an object. By precisely calculating the time it takes for the sound to return, we can figure out exactly how far away an obstacle is. Mastering sensor integration is a huge part of what makes our hardware curriculum the top choice for parents seeking the best coding classes for kids in Chandigarh and surrounding areas.Hardware Connection
Connect your sensor to the Arduino as follows: VCC to Arduino 5V GND to Arduino GND Trig to Arduino Pin 9 Echo to Arduino Pin 10
A clear circuit diagram showing an Arduino Uno connected to an HC-SR04 ultrasonic sensor via breadboard.
The Sensor Code
Understanding the Code
Expert Tip from AI Valley: Notice how we added30000 to the pulseIn() function? By default, if the sensor doesn't hear an echo (because the room is too large), the Arduino freezes for a full second waiting for it. Adding a 30-millisecond timeout ensures our robot's brain never freezes and keeps running smoothly!Expected Output: Open your Arduino IDE Serial Monitor (set the baud rate to 9600). You should see "Distance to obstacle: XX cm" printing continuously. Move your hand closer to the sensor, and watch the numbers dynamically drop.
Step 2: Wiring and Testing the Motor Driver
An Arduino's digital pins can only output about 20-40 milliamps of current. A DC motor requires hundreds of milliamps. Trying to power motors directly from the Arduino will fry the microcontroller! That is why we use an L298N Motor Driver. This module utilizes an "H-Bridge" circuit—acting as a powerful electronic switch. It takes low-power command signals from the Arduino and routes heavy battery power directly to the wheels.Hardware Connection
Connect the L298N to the Arduino: IN1 to Arduino Pin 4 IN2 to Arduino Pin 5 IN3 to Arduino Pin 6 IN4 to Arduino Pin 7 L298N GND to Arduino GND (Crucial Step: The Arduino and the Motor Driver MUST share a common ground to establish a completed circuit!)
A close-up wiring diagram showing the connections between the Arduino digital pins 4-7 and the L298N IN1-IN4 pins, alongside motor connections.
The Motor Code
Expected Output: When you upload this code and connect your main battery pack to the L298N, your robot's wheels should spin forward for exactly 2 seconds, stop for 2 seconds, and repeat in an endless loop.
Step 3: Creating Modular Movement Functions
To make our robot truly smart, we need it to do much more than just drive in a straight line. We need it to reverse, pivot, and halt. Instead of writing messy, repetitive code inside our mainloop(), we will create custom "Functions". Teaching students how to structure clean, modular, and professional-grade code is a core pillar of our advanced programming classes at AI Valley.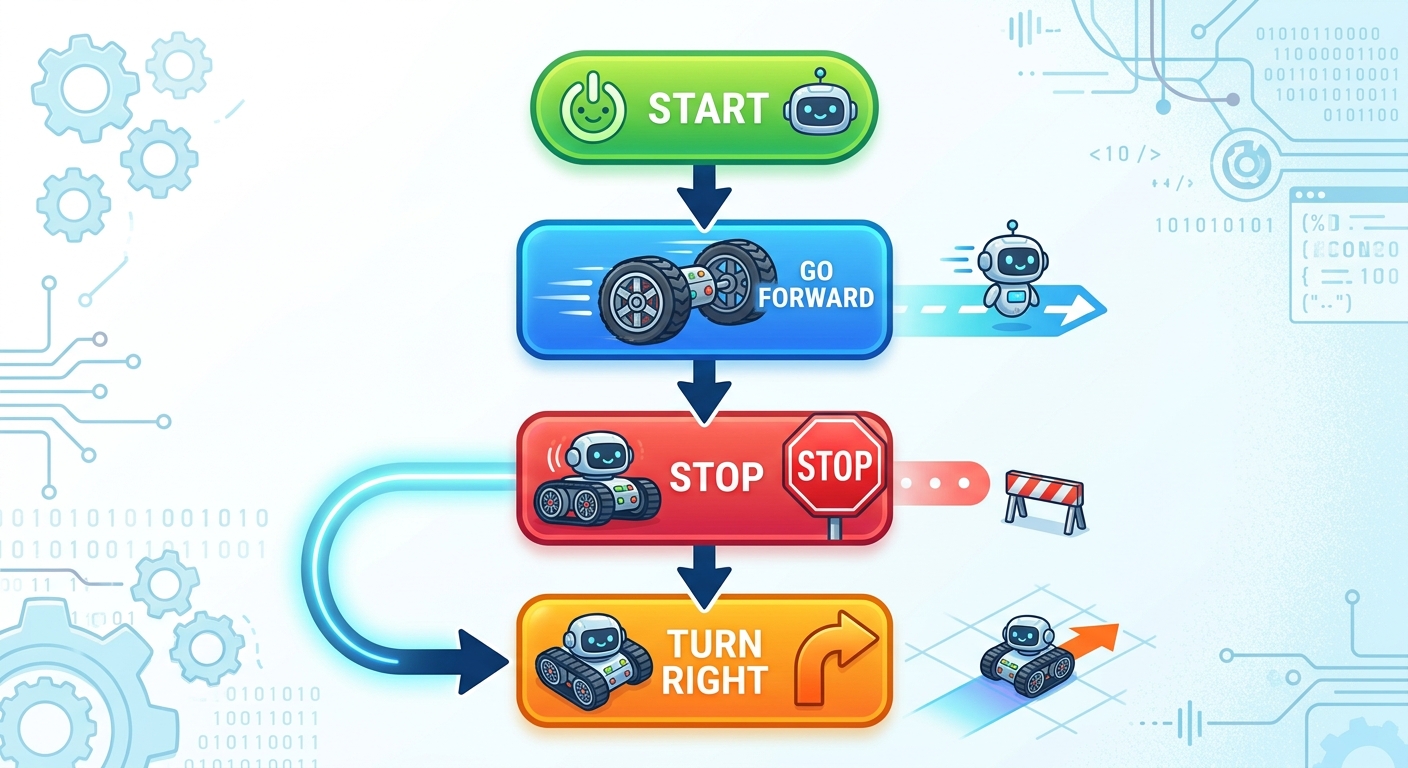
A graphical flowchart showing the logic: Start -> Go Forward -> Stop -> Turn Right.
Understanding Differential Steering: Notice how turnRight() works. By spinning the left wheel forward and the right wheel backward simultaneously, the robot spins rapidly in place on its own axis. This allows for incredibly tight maneuvering in small rooms!
Step 4: The Complete Obstacle Avoidance Brain
Now it is time for the magic to happen! We are going to seamlessly combine our ultrasonic sensor's distance readings with our modular motor functions. This complex integration of dynamic sensors and physical actuators is exactly why AI Valley is recognized as a leader in hands-on technical education.
A photo of the fully assembled robot on a floor, facing a cardboard box or wall obstacle.
Expected Output: You have created an autonomous machine! Place it on the floor, wait for the 3-second safety delay to finish, and step back. Watch it roam the room, intelligently sensing and dodging walls, shoes, and furniture completely on its own.
Step 5: Troubleshooting and Calibration
In the real world, engineering projects rarely work perfectly on the very first try. Troubleshooting is arguably the most valuable, real-world skill we teach in our robotics classes.Here are some common issues and professional ways to fix them:
Robot goes backward instead of forward? Your motor wiring is reversed. Simply swap the two wires going from the L298N to the affected motor. Robot spins left instead of right? Your IN1/IN2 pins might be physically swapped with your IN3/IN4 pins. You can physically re-wire them, or easily flip the logic in your C++ code. Robot stutters, randomly restarts, or acts "glitchy"? This is the #1 issue in robotics: Voltage Drop. When DC motors pull heavy current, a weak battery causes the voltage to drop, automatically resetting the Arduino board. Ensure you are using fresh, high-quality batteries. 18650 Li-ion cells are vastly superior to standard 9V batteries for driving motors.
A student tweaking code on a laptop while the robot sits next to the screen on a workbench.
🚀 Challenge: Take It Further
Ready for an advanced challenge? Try these upgrades:ENA and ENB pins on your L298N motor driver combined with Arduino's analogWrite() function. This Pulse Width Modulation (PWM) allows you to control the exact speed of the robot, making it drive slower or faster rather than just ON or OFF.🎉 Final Result
Congratulations! You have successfully engineered a fully functioning, autonomous machine from scratch. By completing this project, you haven't just blindly followed instructions—you have mastered the core principles of STEM education: circuitry design, logical C++ programming, sensor integration, and problem-solving. Your robot can now safely navigate any room without crashing.🏫 Learn More at AI Valley
Are you looking to turn your passion for technology into real-world skills? AI Valley is the premier technology and robotics institute serving students across the entire Tricity region. Our expert instructors teach hands-on, high-impact projects exactly like this one every single week.Whether you reside in Zirakpur, Chandigarh, Mohali, or Panchkula, we invite you to take the next step in your educational journey. From foundational block coding for young beginners to advanced Python AI development and C++ hardware engineering, we have the perfect learning path for ages 5 to 17.
Don't let the learning stop at just one robot. Visit aivalley.co.in today to explore our curriculum, or drop by our campus to Enroll at AI Valley and claim your free trial class. Let's build the future together!