
Build a Retro Pong Game: Step-by-Step Python Tutorial | AI Valley Chandigarh
Welcome to AI Valley! If you are a parent or student who has been searching for the best coding classes for kids in Chandigarh, you are exactly where you need to be. At AI Valley, we believe that the most effective way to master programming is by building exciting, real-world projects. Instead of just memorizing dry theory, our students build interactive software every single week.
Today, we are going to dive deep into the fascinating world of Python programming by recreating one of the most iconic arcade games in history: Pong.
Whether you are a young beginner taking your first steps into tech, or an adult looking to understand fundamental game logic, this comprehensive tutorial is designed for you. By the end of this step-by-step guide, you will have a fully functioning, interactive two-player game that you coded entirely from scratch!
🤔 Why Learn Python by Building Games?
Before we type our first line of code, it is important to understand why we are doing this. Python is one of the most powerful and popular programming languages in the world, used by tech giants like Google, Netflix, and NASA. However, learning Python through text-based exercises can sometimes feel tedious.
When you build a game like Pong, you are secretly learning advanced computer science concepts—like object-oriented programming, Cartesian coordinate math, infinite loops, and collision physics—while having fun. This hands-on, project-based approach is exactly why parents consistently rank us as providing the best coding classes for kids in Mohali and the broader Tricity area.
🎯 What You Will Build
You will build a classic, 2-player Pong arcade game using Python. The game will feature: A continuously moving ball that bounces off the top and bottom walls. Two independently controllable paddles operated via keyboard inputs. Accurate boundary collision detection. A live, dynamic scoreboard that tracks points for Player A and Player B.
This project is a staple in our weekend curriculum for students joining our AI and coding programs from Zirakpur to Panchkula, designed to instill a deep understanding of software logic.
📋 Prerequisites & Materials
Before we start coding, let's gather our tools. If you don't have a reliable computer at home, remember that you can always visit our state-of-the-art computer labs at AI Valley, where all hardware and software materials are provided for our students.
Python Installed: Ensure you have Python 3.8 or newer installed on your computer. You can download it for free from python.org.
A Code Editor (IDE): We highly recommend Visual Studio Code (VS Code), PyCharm, or even Python's default IDLE, which comes bundled with your Python installation.
The Turtle Module: This is a built-in Python library used for creating graphics. Because it comes pre-installed with Python, no extra downloads or terminal installations are needed!
A Logical Mind: Bring your patience and readiness to solve some fun coding puzzles.
---
Step 1: Setting Up the Arcade Screen
Every great video game needs a canvas. In Python, we can use the built-in turtle module to easily draw graphics, generate shapes, and create interactive game windows. When students learn Python in Chandigarh at our institute, we always emphasize the critical importance of setting up your digital environment properly before diving into complex logic.
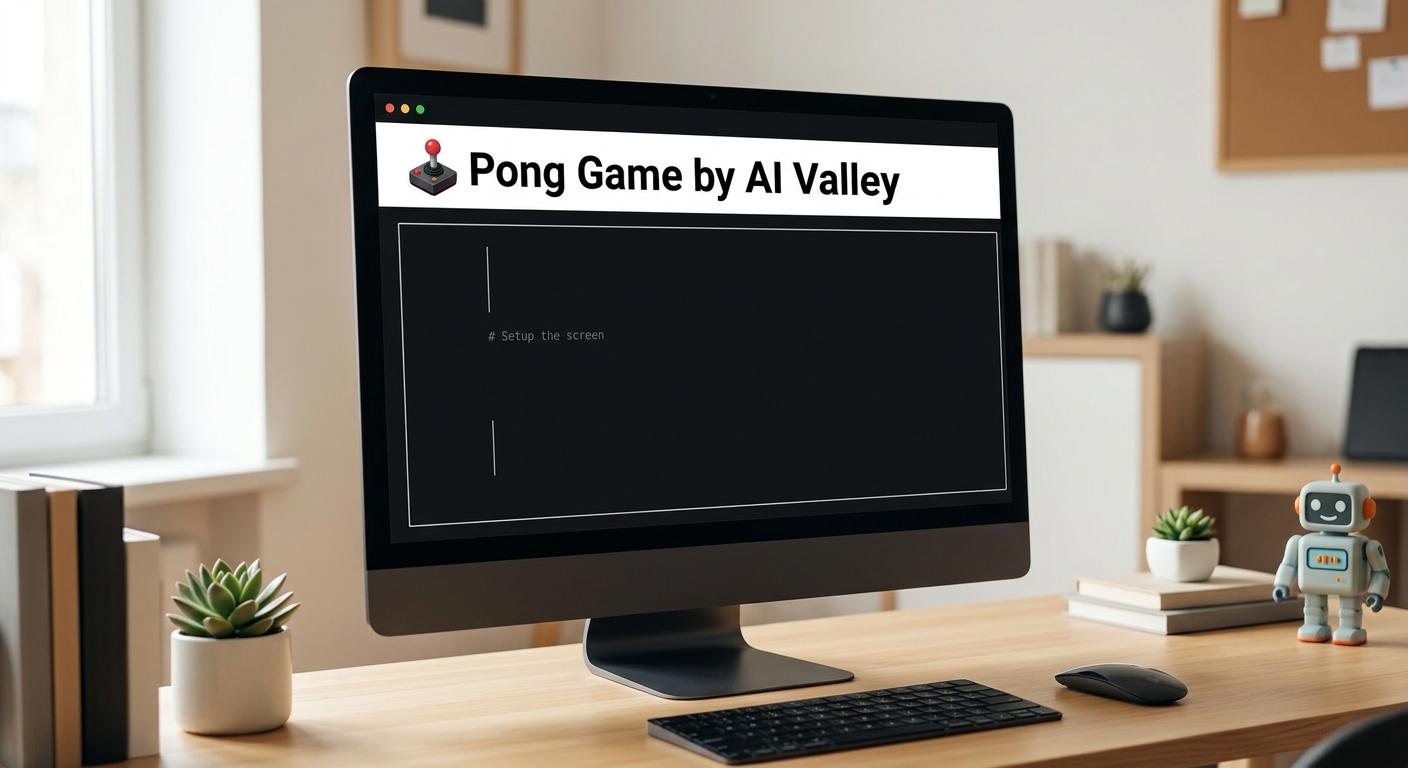
A clean, black computer screen window with the title 'Retro Pong by AI Valley Chandigarh' at the top, showing an empty digital canvas ready for a Python game.
Create a new file called pong.py and type the following code:
What this code does:
First, we import the turtle module, bringing all of its graphical tools into our script. We then create a screen object and assign it to a variable named win.
win.title() sets the text at the top of your window.
win.bgcolor("black") changes the background color to black, giving it that classic 1970s retro arcade feel.
win.setup(width=800, height=600) defines the dimensions of our window in pixels.
win.tracer(0) is a crucial line for game development. It stops the screen from updating automatically. This allows us to manually update the screen later in our game loop, which forces our game to run much faster and smoother.
Expected Output: When you run this code, a black window will pop up briefly with your chosen title. Don't worry if the window closes immediately—that is completely normal! We will keep it open permanently when we add the main game loop in Step 4.
---
Step 2: Designing the Paddles and the Ball
Now that we have our black arcade screen, we need to create the actual game objects: Player A's paddle on the left, Player B's paddle on the right, and the ball in the center. Understanding how to spawn and manipulate digital objects is a core module in our AI classes for kids Zirakpur curriculum.
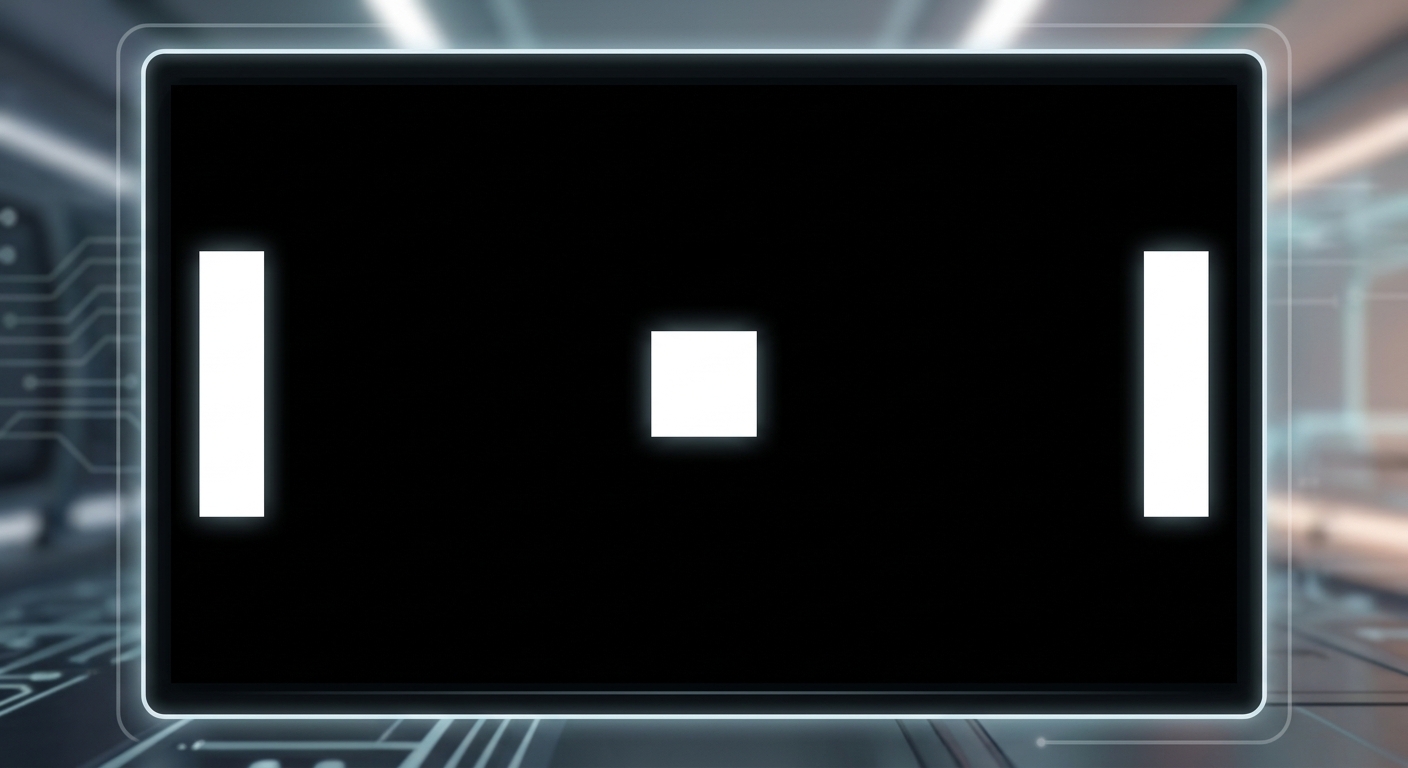
A black game screen showing two white vertical rectangular paddles on the far left and right sides, and a small white square ball perfectly in the center.
Add the following code to your script:
What this code does:
We are creating three distinct "turtles" (which act as our game characters). Let's break down the commands we used for each:
speed(0): This does not dictate how fast the paddle moves during gameplay; rather, it sets the drawing speed to maximum so the objects render on the screen instantly.
shape("square"): By default, the turtle is an arrow. We change it to a basic square.
shapesize(stretch_wid=5, stretch_len=1): A default turtle square is 20x20 pixels. By stretching the width by 5, we make the paddle 100 pixels tall, while leaving the length at its default 20 pixels.
penup(): Turtles are meant to draw lines as they move. penup() lifts the digital pen so the objects don't leave a white trail behind them when they move around the screen.
goto(x, y): This relies on Cartesian coordinates. The exact center of the screen is (0, 0). We place Paddle A on the far left at (-350, 0) and Paddle B on the far right at (350, 0).
---
Step 3: Bringing the Paddles to Life (Keyboard Controls)
A game isn't a game if you can't play it! We need to bind specific keys on our keyboard to move the paddles up and down. Teaching kids how physical hardware (the keyboard) interacts with digital software (the game) is a foundational pillar of our STEM education Tricity program.
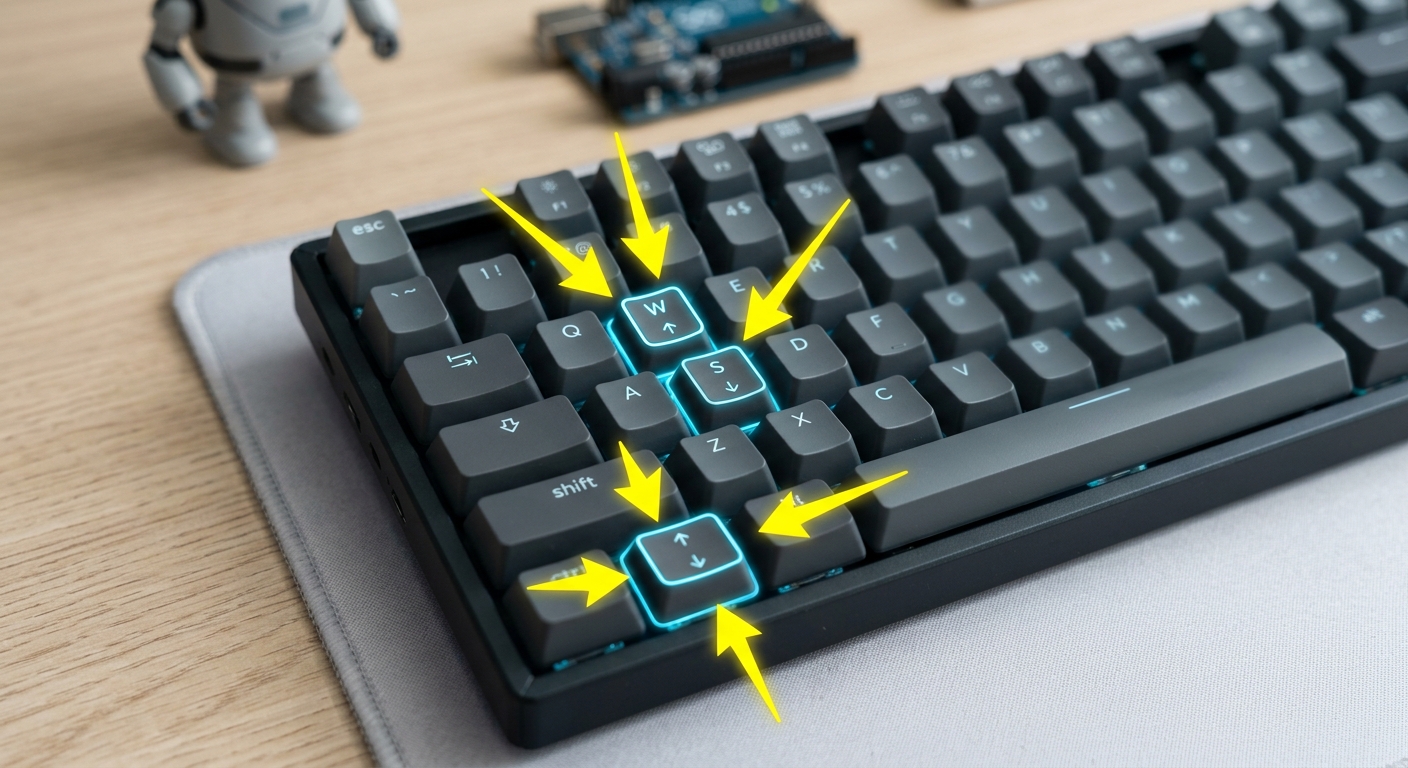
A close up of a computer keyboard with arrows highlighting the 'W' and 'S' keys, alongside the Up and Down arrow keys, used for controlling game paddles.
Add the following functions and keyboard bindings:
What this code does:
We define four functions (def). Each function asks the computer to check the current vertical position (Y-coordinate) of the paddle using .ycor().
To prevent the paddle from flying off the screen, we use an if statement. If the paddle hasn't reached the upper boundary (y < 250), we are allowed to add 20 pixels to its position to move it up.
Finally, win.listen() commands the program to actively monitor the keyboard for presses. We link the "w" and "s" keys to Player A (left), and the "Up" and "Down" arrow keys to Player B (right).
---
Step 4: Making the Ball Move and Bounce off Walls
Now for the physics! We need to give the ball continuous movement and tell it what to do if it hits the top or bottom boundaries of our 800x600 screen.

A visual diagram of a computer screen showing a white ball moving at an angle with dotted lines indicating its trajectory bouncing off the top edge.
What this code does:
We invent two new custom properties for our ball object: dx (delta x) and dy (delta y). These represent the speed and direction of the ball. Note: If the ball moves too fast or too slow on your specific computer, change these numbers to 0.05 or 1.5 until it feels right!
Next, we create a while True: loop. This is an infinite loop that acts as the "heartbeat" of our game. Every fraction of a second, the loop updates the screen visually (win.update()), calculates the ball's new position, and checks if the ball has hit the top roof (y > 290) or bottom floor (y < -290).
If it hits a wall, we multiply dy by -1. In math, multiplying a positive number by a negative number makes it negative, which perfectly reverses its direction, creating a bounce effect!
---
Step 5: Programming the Paddle Collisions
Our ball bounces beautifully off the top and bottom, but it currently passes straight through our paddles! We need to write collision logic (often called bounding box detection). Grasping this coordinate-based mathematics is highly beneficial for students focusing on kids programming Chandigarh and preparing for advanced high school math.

A diagram showing a white ball colliding with a white rectangular paddle, with an arrow indicating the ball's direction reversing upon impact.
Add this code INSIDE your while True: loop, immediately below the wall bounce code from Step 4. Make sure it is indented correctly!
What this code does: We are checking the exact coordinates of the ball against the coordinates of the paddles. Let's look at the right paddle. We check if the ball's horizontal X position has reached the paddle (between 340 and 350 pixels). Simultaneously, we check if the ball's vertical Y position is actually touching the paddle. Because our paddle is 100 pixels tall, it spans 50 pixels above its center and 50 pixels below its center.
If both the X and Y coordinates overlap, it's a hit! We reverse the dx (horizontal speed) to bounce it back toward the left side of the screen. We also programmed logic to reset the ball to the center (0, 0) if a player misses entirely.
---
Step 6: Adding a Live Scoreboard
To make this a true competitive arcade game, we need to keep score. We will implement modern Python techniques to display dynamic text on the screen.
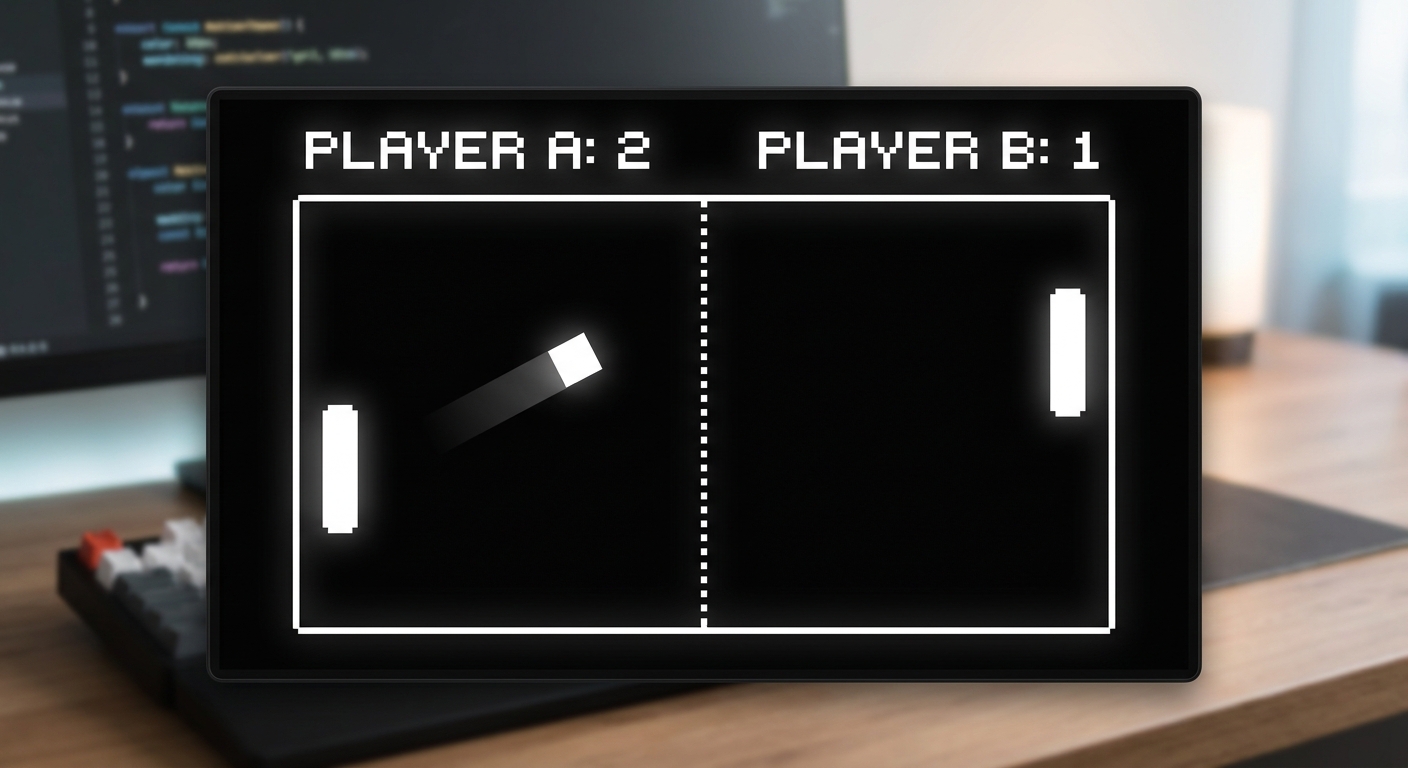
The final completed Pong game screen showing a score of 'Player A: 2 Player B: 1' written in white text at the top center of a black screen, with paddles and a ball in motion.
Add this variable setup near the top of your file, right BEFORE your while True: loop begins:
Now, update the off-screen scoring logic INSIDE your while True: loop to update the variables:*
What this code does:
We establish two variables, score_a and score_b, initiating both at zero. We create a new turtle called pen whose sole purpose is to write text onto the screen.
Notice the f before the text string (f"Player A: {score_a}..."). This is called an f-string, a modern Python feature that allows us to easily inject variables directly into text. Inside our game loop, whenever the ball goes off the screen, we increase the respective player's score by 1, clear the previous text using pen.clear(), and rewrite the newly updated score.
Expected Output: Congratulations! You have a completed, professional-looking Retro Pong game with working physics, solid boundaries, responsive keyboard controls, and a dynamic scoreboard.
---
🎉 Final Result & Next Steps
You have successfully built a classic arcade game entirely from scratch using Python! By completing this robust project, you have learned vital programming concepts: Cartesian coordinate systems, object instantiation, keyboard event listeners, infinite loops, variable states, and conditional logic. These are the exact same foundational principles used by professional software engineers and game developers worldwide.
🚀 Challenge: Take It Further
Ready to test your newly acquired skills? Here are a few ways to upgrade your game:win.bgcolor() to dark blue and making the paddles neon green or pink.ball.dx and ball.dy speed slightly every single time it hits a paddle? (Hint: multiply the speed by 1.05).🏫 Learn More at AI Valley
AI Valley is incredibly proud to be the top-rated coding and robotics education institute in the region. We enthusiastically serve passionate learners across Chandigarh, Zirakpur, Mohali, Panchkula, and the entire Tricity area.
If you enjoyed this tutorial and are looking for a highly-rated coding institute near me Chandigarh, look no further. Our expert instructors teach hands-on, engaging projects just like this one every week in Python, Full-Stack Web Development, Arduino Robotics, and Artificial Intelligence.
Whether your child is 5 years old discovering logic through block coding, or 17 years old preparing for a demanding computer science university degree, we have the perfect, customized learning path waiting for them.
Whether you reside in Chandigarh, Mohali, Panchkula, or Zirakpur, we invite you to take the next step in your tech journey. Visit aivalley.co.in to enroll at AI Valley today, book a free trial class, and start building the future!