Build a Whack-a-Mole Game: JavaScript Tutorial for Kids
Welcome to another exciting hands-on project from AI Valley, Zirakpur! Whether you're joining us from Chandigarh, Mohali, or Panchkula, this is exactly the kind of fun project our students build in our weekend coding classes. As the leading institute for coding in Zirakpur and the Tricity area, we believe the best way to learn programming is by building something incredibly fun. Today, you are going to become a real web developer by creating your very own interactive browser game from scratch.
🎯 What You'll Build
We are going to build a classic Whack-a-Mole game! A cute virtual hamster will pop up randomly across a 3x3 grid. Your goal is to "whack" (click) the hamster as fast as you can before the 30-second timer runs out. By the end of this tutorial, you will have a fully functioning game that you can play and share with your friends.📋 Prerequisites & Materials
Whack-a-Mole. Inside it, create three empty files: index.html, style.css, and app.js.Step 1: Setting Up the Game Board (HTML)
HTML (HyperText Markup Language) is the skeleton of our game. It tells the browser what elements exist on our page, like text, images, and boxes.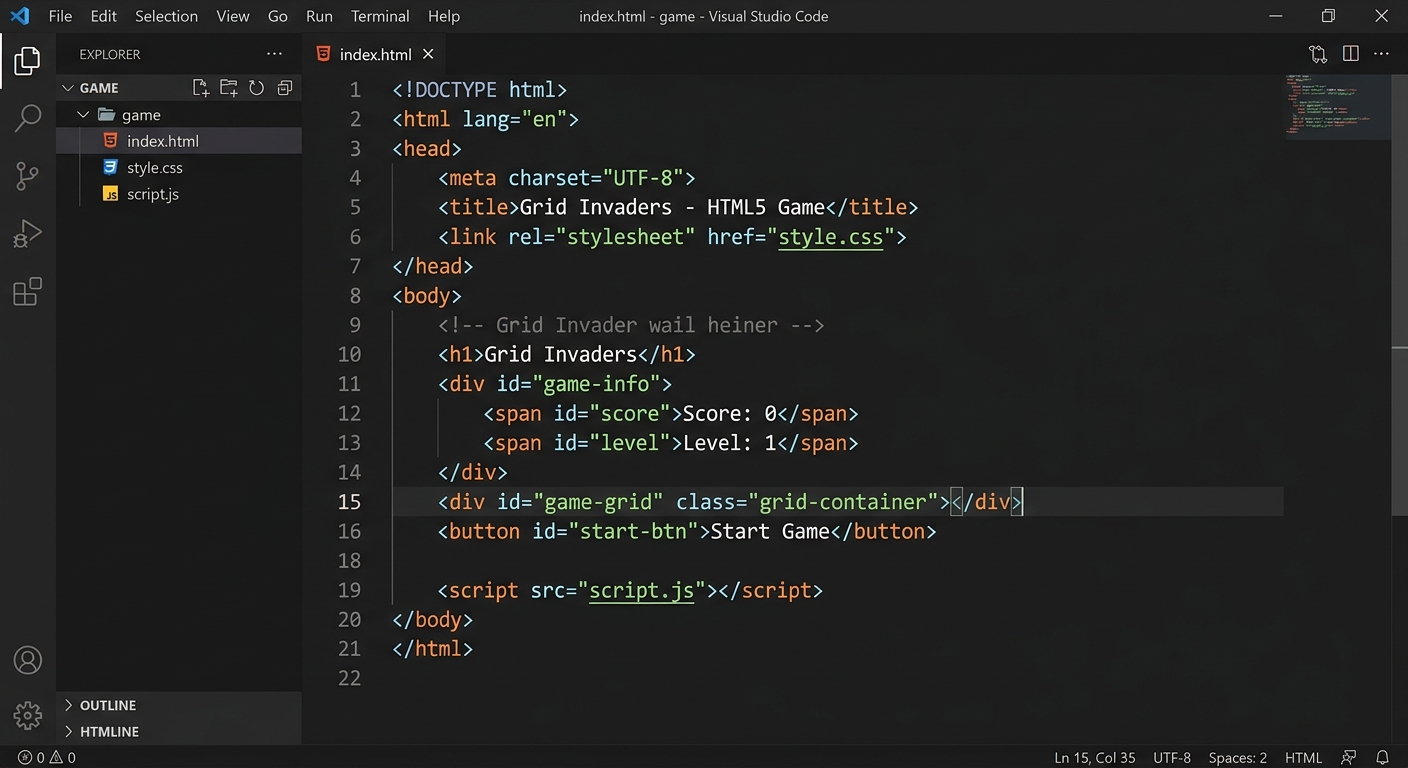
A screenshot of a code editor showing the basic HTML5 boilerplate structure with a heading, score, timer, and a grid container
What this code does: We created a main container called grid and placed 9 square boxes inside it. These squares will be the holes where our mole hides. We also added tags with specific IDs so we can update the score and timer later. Notice how we linked our CSS file in the and our JS file at the end of the .
Expected Output: If you open index.html in your browser now, you will just see the text "Whack-a-Mole!", "Score: 0", and "Time Left: 30". The grid is invisible because we haven't styled it yet!
Step 2: Styling the Grid to Look Like a Game (CSS)
CSS (Cascading Style Sheets) is the paint and decorations. We will use CSS to align our 9 squares into a neat 3x3 grid and make everything look like a proper arcade game.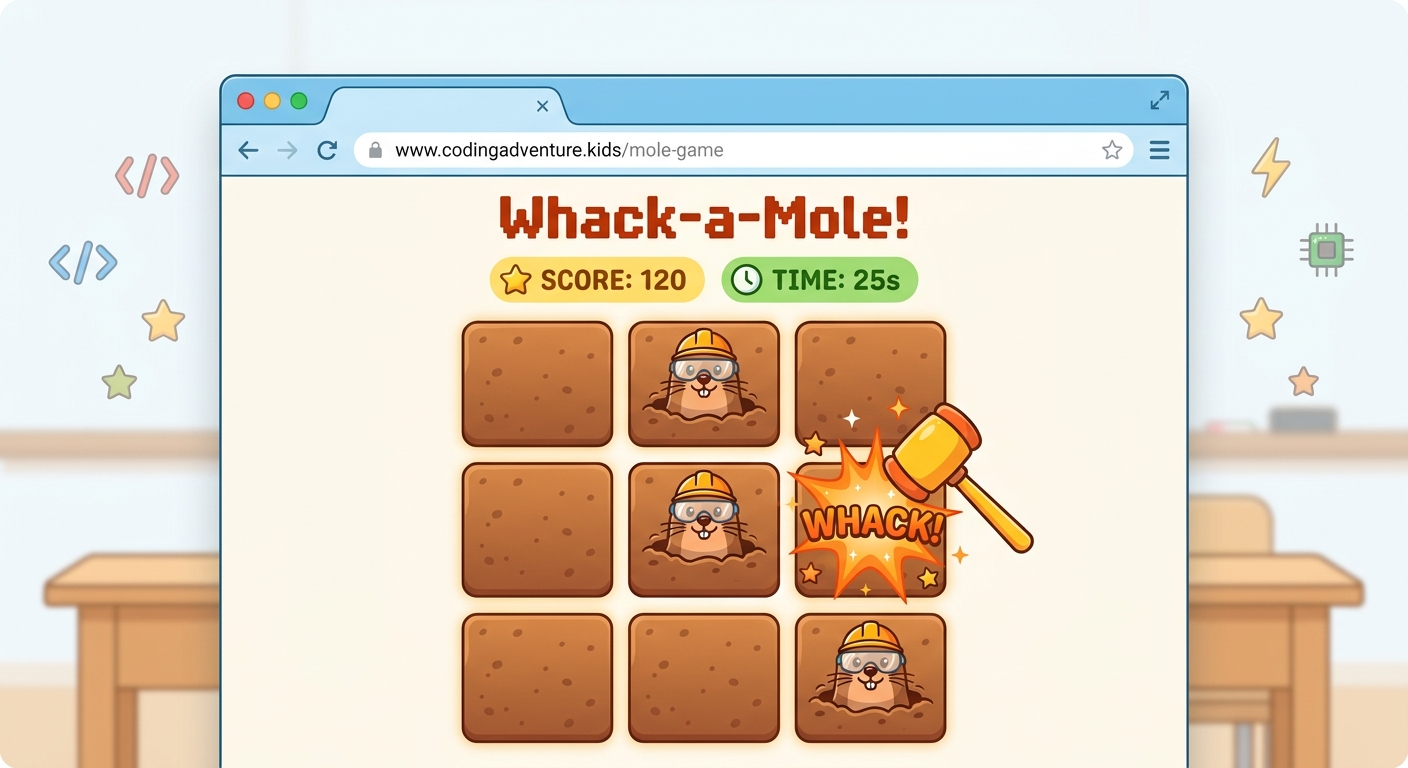
A web browser displaying a neat 3x3 grid of empty white squares with thick black borders centered on a light-colored background
What this code does: We use display: grid; to instantly arrange our squares into 3 columns and 3 rows, each exactly 150 pixels wide and tall. We gave the squares a nice dirt-brown background color (#8b4513) and made the text size huge (font-size: 80px) so our emoji mole will be nice and big.
Expected Output: Refresh your browser! You should now see a beautiful 3x3 brown grid beneath your title and score.
Step 3: Waking Up the JavaScript (Selecting Elements)
Now comes the magic! JavaScript is the brain of our website. First, we need to grab the HTML elements we created so our code can control them. querySelector and
 querySelectorAll commands storing HTML elements into variables" style="max-width: 100%; border-radius: 0.75rem; box-shadow: 0 8px 30px rgba(0,0,0,0.4); border: 1px solid rgba(255,255,255,0.1);" />A close-up of a code editor showing JavaScript querySelector and querySelectorAll commands storing HTML elements into variables
What this code does: document.querySelectorAll('.square') grabs all 9 of our grid boxes and stores them in an array called squares. We also set up variables to keep track of the player's result (score), where the mole currently is (hitPosition), and how much time is left (currentTime).
Expected Output: Nothing will change on your screen yet, but your game is secretly preparing its memory in the background!
Step 4: Making the Mole Move Randomly
We need a function to pick one random square and place our hamster emoji (🐹) inside it. Then we need to make it move continuously.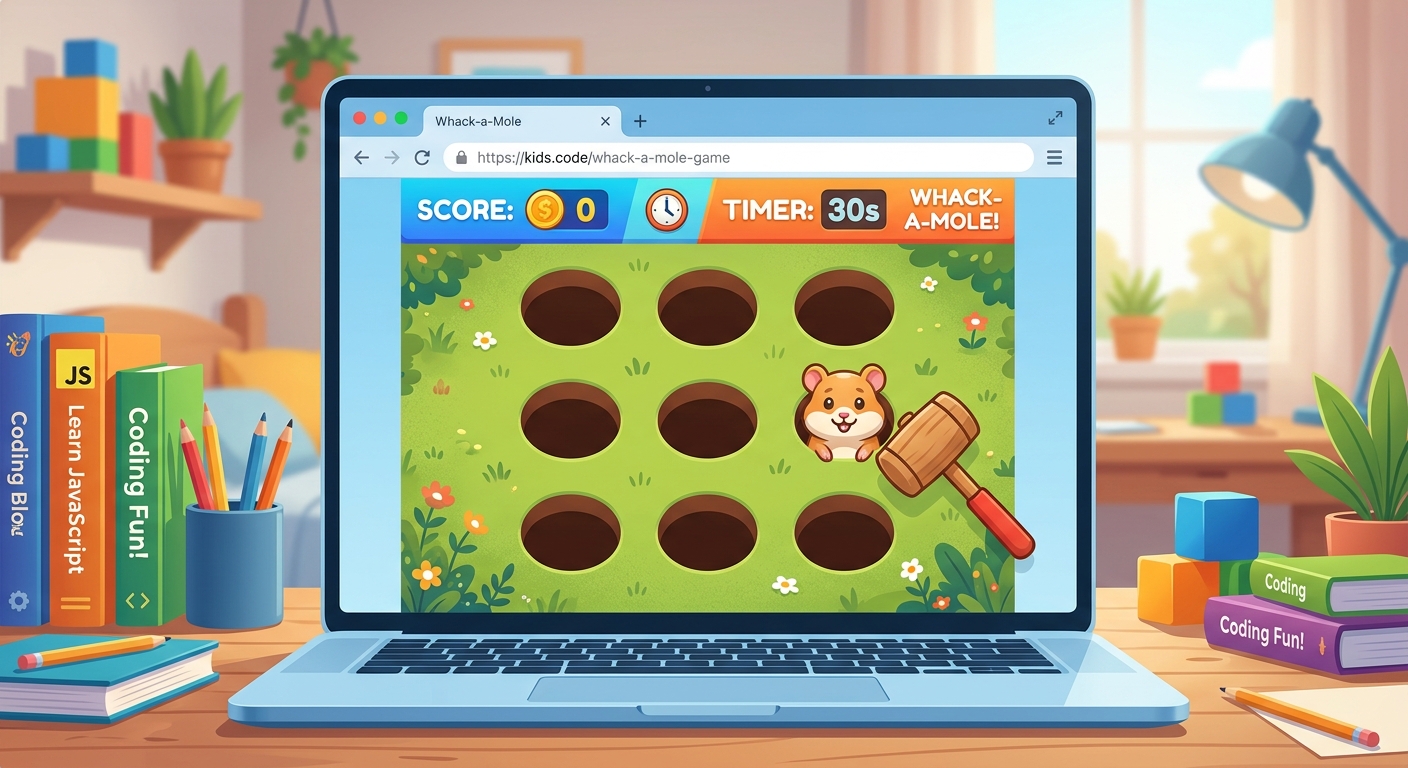
The browser game showing the 3x3 grid with a cute hamster emoji appearing inside the top-right square
What this code does: Math.random() * 9 generates a random number. Math.floor() rounds it down to a whole number from 0 to 8. We use this to select one of our 9 squares. setInterval is a powerful JavaScript tool that tells the browser to run our randomSquare function repeatedly every 800 milliseconds.
Expected Output: Refresh the page! You will see a hamster emoji randomly jumping from square to square every second.
Step 5: Whacking the Mole to Score Points
Our mole is moving, but clicking it does nothing. Let's add "Event Listeners" to detect when a player successfully clicks on the mole.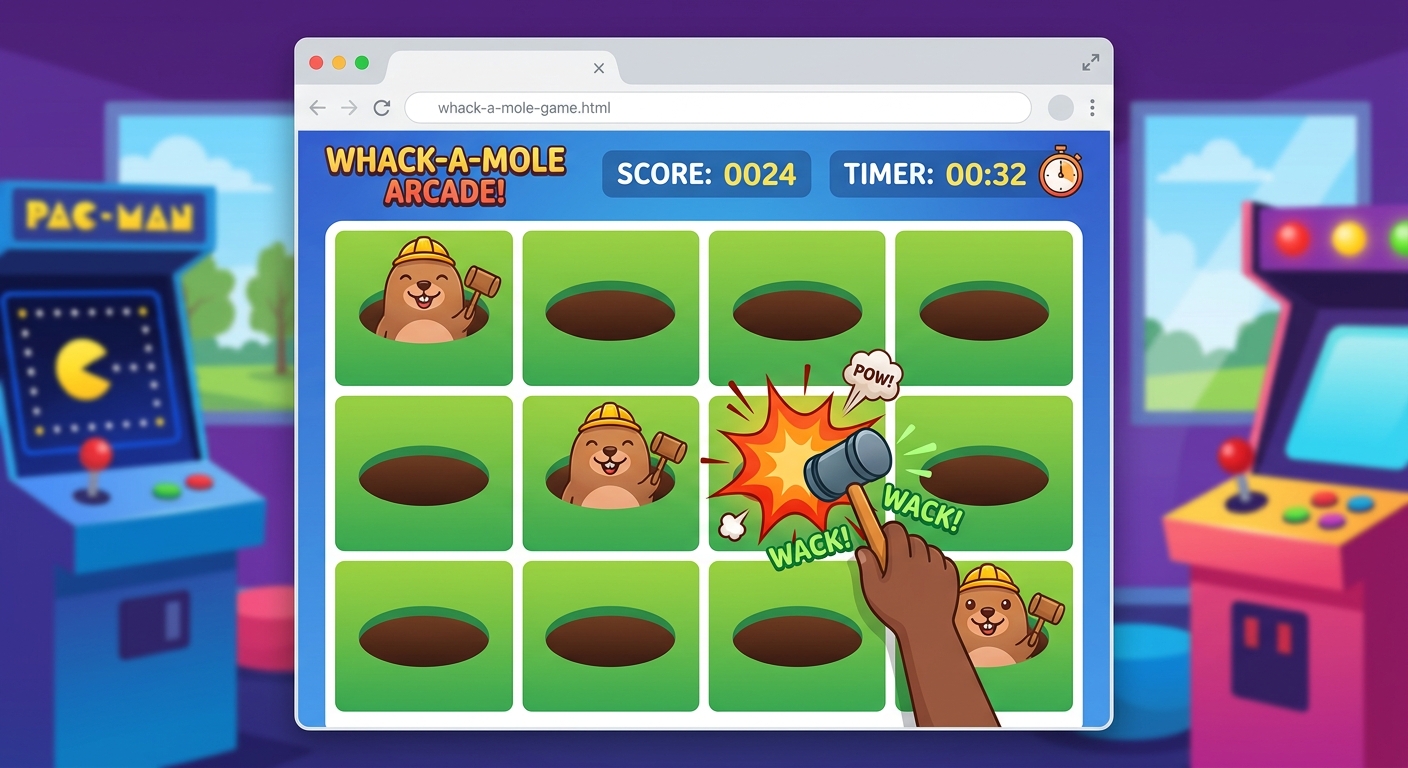
The browser game showing the score updated to 1, and an explosion emoji (💥) appearing exactly where the user clicked the hamster
What this code does: We attach an addEventListener to every single square. When the mouse button goes down (mousedown), it checks if that square is the current hitPosition. If it is, boom! The score goes up, the text on the screen updates, and we briefly show a collision emoji.
Expected Output: Try playing the game now! Click the hamster. Your score should increase, and the hamster will briefly turn into an explosion until the next random movement.
Step 6: Creating the Countdown Timer & Game Over
A game needs an ending! Let's make the 30-second timer count down to zero and stop the game.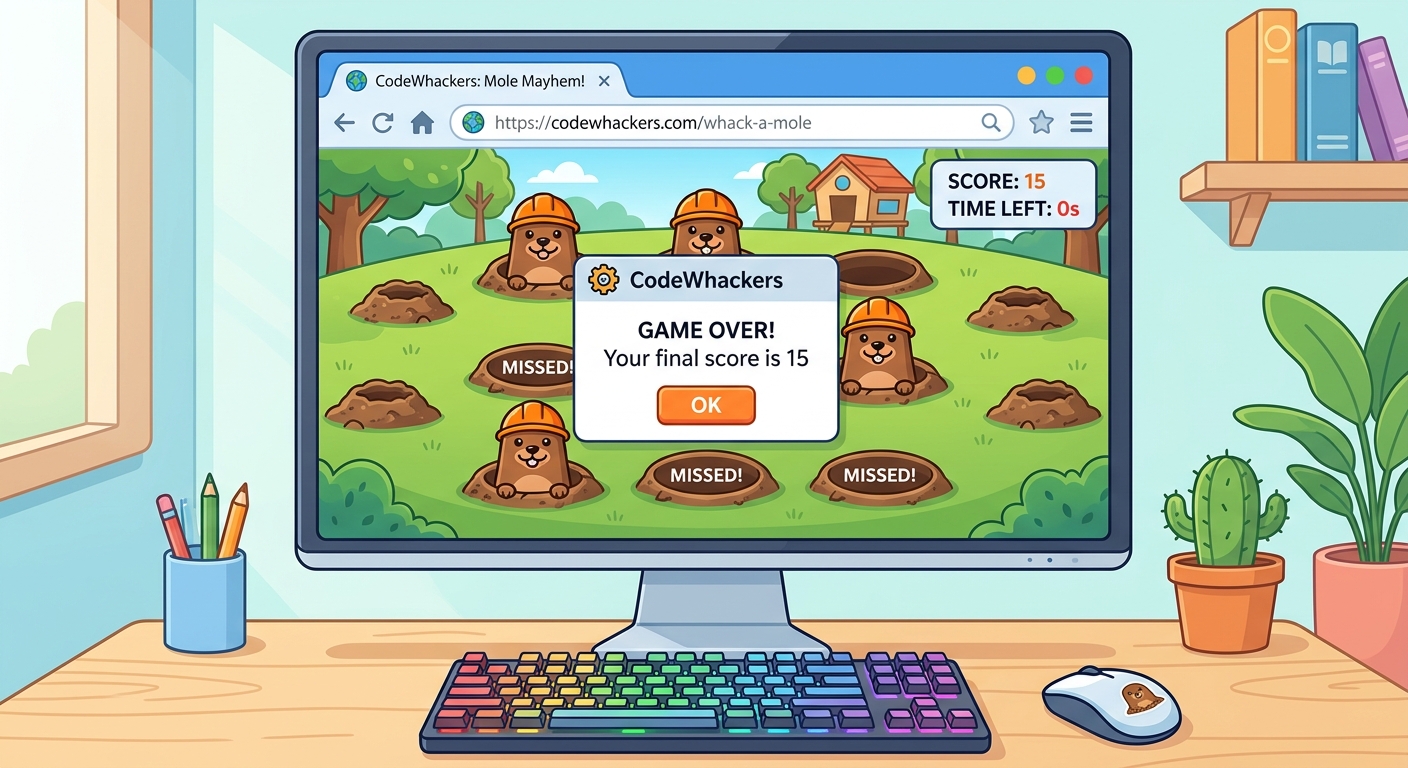
A browser alert box popping up over the game screen that says 'GAME OVER! Your final score is 15' with the timer at 0
What this code does: The countDown function subtracts 1 from currentTime and updates the screen. We use setInterval to run it every 1 second. Once currentTime hits exactly 0, we use clearInterval to stop the clocks and trigger an alert() popup to announce the final score.
Expected Output: The "Time Left" number will drop by 1 every second. At 0, the mole stops moving, and a popup window announces your final score!
🎉 Final Result
Congratulations! You have just built a complete, interactive, logic-based web game from absolute scratch. You learned how HTML builds structure, CSS adds beautiful styling, and JavaScript handles logic, timers, and user clicks.🚀 Challenge: Take It Further
Want to make your game even better? Try these three challenges:app.js and change the mole movement interval from 800 to 500 milliseconds to make the mole super fast!currentTime to 30 and result to 0 when clicked.background-image to put your own custom images (like a real mole or an alien) into the squares.